

$14.11 /1 yr

$17.49 /1 yr

$13.74 /1 yr

$3 /1 yr
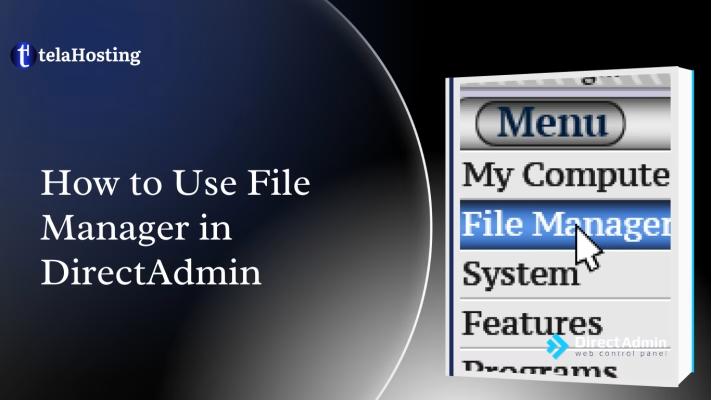
Welcome! This guide will show you how to use the File Manager in DirectAdmin to manage your website files easily. Follow these steps to upload, edit, delete, and organize your files.
First, log in to DirectAdmin
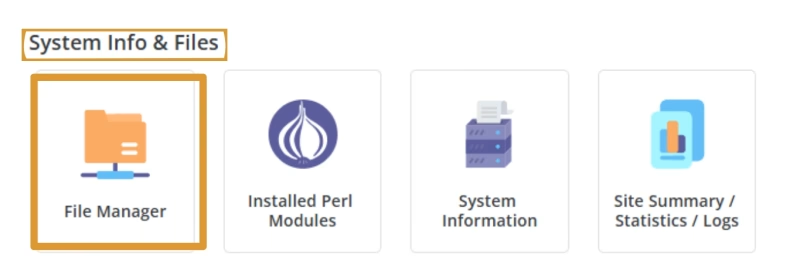
On the DirectAdmin dashboard, look for the System Info & Files section.
Click on File Manager.
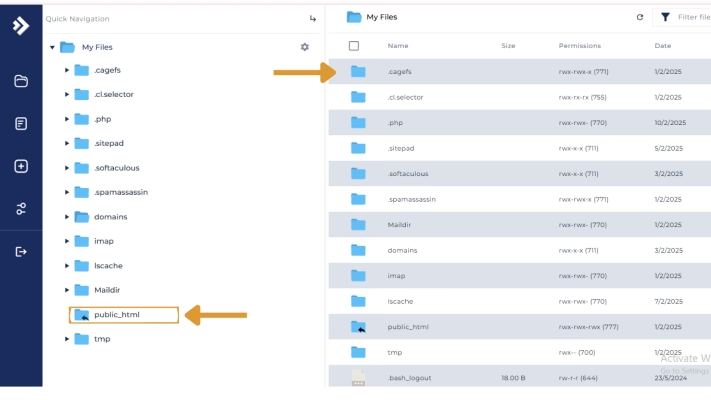
You will see a list of folders such as domains, public_html, and private_html.
Click on a folder to open it.
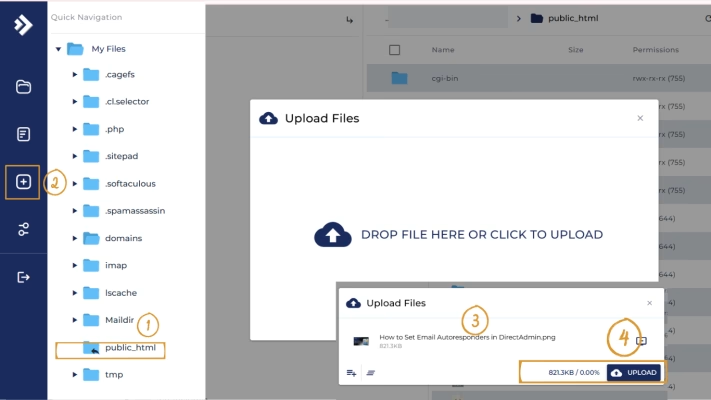
1. Navigate to the folder where you want to upload a file (e.g., public_html).
2. Click on the Upload Icon on the left side of the page
3. Click Choose File and select the file from your computer.
4. Click Upload Files.
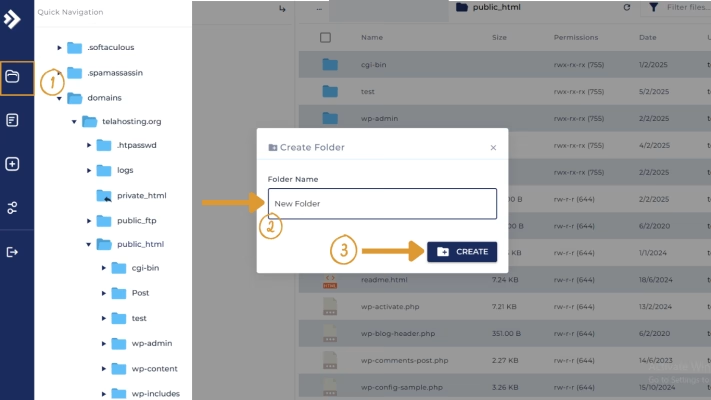
1. Click on the Create new folder icon on the left bar.
2. Select Create New Folder.
3. Enter a name and click Create.
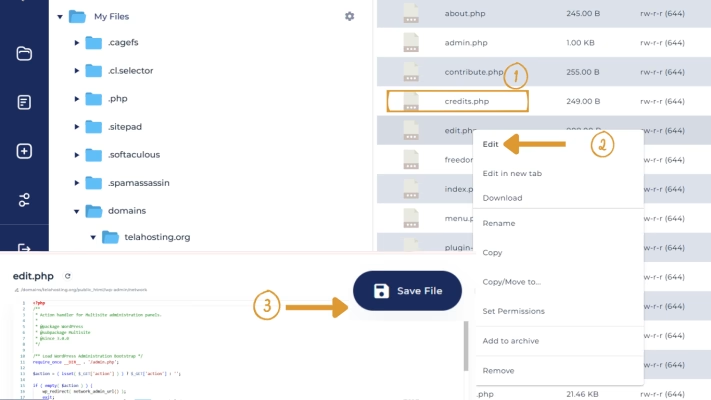
1. Click on the file name to open it.
2. Click the Edit button to modify its content.
3. Make changes and click Save.
1. Select the file or folder you want to delete.
2. Click Remove to delete
3. Confirm the Remove.

If you accidentally delete a file, check the Trash (if available) or restore from a backup.
Make sure to upload files to the correct directory (e.g., public_html for website files).
If a file is not updating, clear your browser cache or check file permissions.
Contact support if you face any issues.
With this, you can use your file manager in DirectAdmin. Happy Hosting🌟.


Need help? Our friendly support team is always here for you! Reach out below.
Happy hosting! 🌟