A subdomain is an extension of your main domain (e.g., blog.yourdomain.com). Follow these simple steps to create a subdomain in DirectAdmin.
Step 1: Log in to DirectAdmin
- Open your web browser and go to
https://yourdomain.com:2222.
- Enter your username and password.
- Click Login.
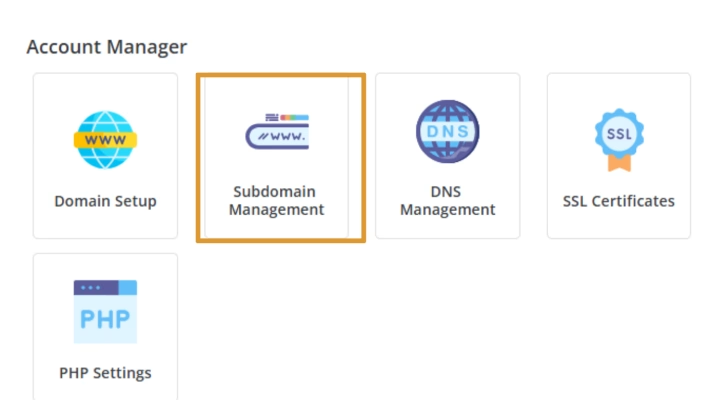
Step 2: Open the Subdomain Management Section
- On the DirectAdmin dashboard, look for the Account Manager section.
- Click on Subdomain Management.
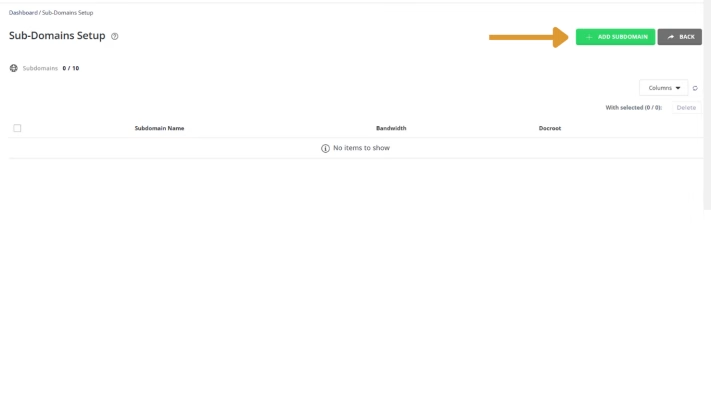
Step 3: Create a New Subdomain
- Click the Add Subdomain button.
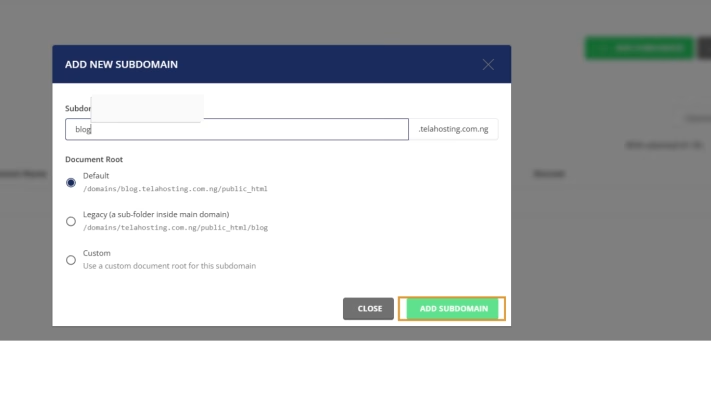
- Enter your desired subdomain name (e.g.,
blog).
- Click Create
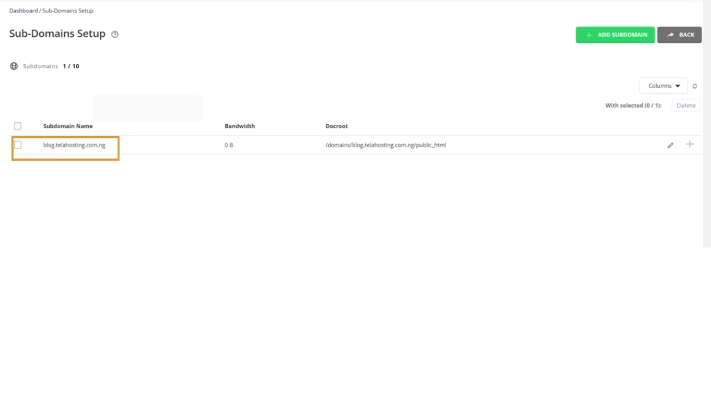
Step 4: Verify the Subdomain
- Go back to Subdomain Management, and you should see your newly created subdomain.
- The subdomain’s directory will be automatically created under
domains/yourdomain.com/public_html/subdomain_name/.
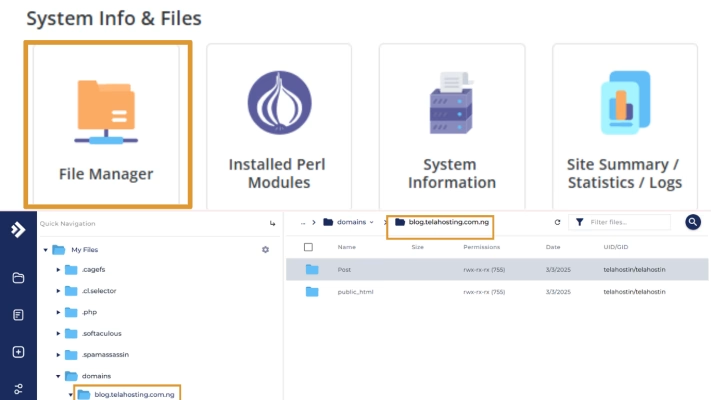
Step 5: Upload Content to the Subdomain (Optional)
- Navigate to File Manager from the DirectAdmin dashboard.
- Open the folder:
public_html/subdomain_name/.
- Upload or create files for your subdomain.
Step 6: Wait for DNS Propagation
- If this is a new subdomain, it may take a few minutes to 24 hours to be accessible.
- You can check if the subdomain is working by visiting
http://subdomain.yourdomain.com in your browser.
Troubleshooting & Tips
- Make sure your domain’s DNS records are correctly set if the subdomain isn’t working.
- If you want to install WordPress or another script on the subdomain, use Softaculous (if available).
- Contact your hosting provider if the subdomain doesn’t appear in the list after creation.
With this, you can successfully create a subdomain in DirectAdmin. Happy hosting🌟.


Need help? Our friendly support team is always here for you! Reach out below.
Happy hosting! 🌟