What is Cloudflare?
Cloudflare is a powerful online service that helps protect your website, speed it up, and make it more reliable without you needing to do anything complicated. It is like a security guard + traffic controller + performance booster for your website.
When your site is connected to it, every visitor passes through it first before reaching your server.
Why Use Cloudflare in the First Place?
- Stronger security (blocks attackers and bots)
- Faster loading speed (CDN caches your site worldwide)
- Free SSL certificate
- Better uptime
- Reduced server load
- Global content delivery
Connecting it requires DNS changes inside cPanel, and that’s exactly what you’re about to learn.
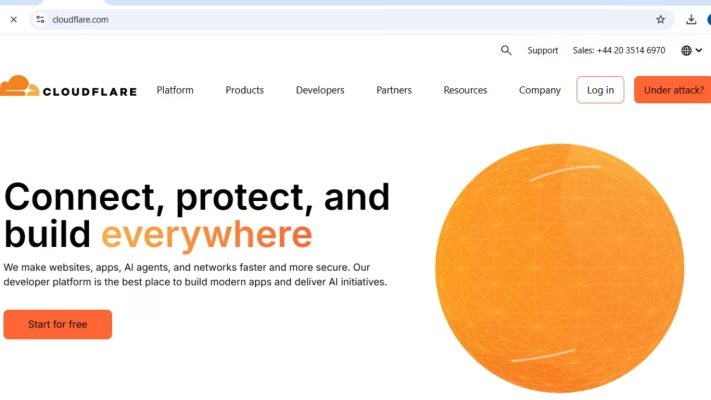
Step 1: Create a Cloudflare Account
If you haven’t already:
- Visit https://www.cloudflare.com
- Click Sign Up
- Enter your email and create a password
- click on connect domain
- Add your domain when prompted. Example: yourdomain.com (no “www” or “https://”)
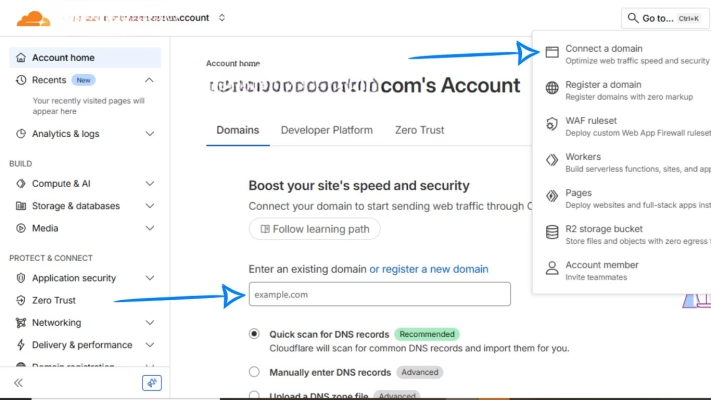
It will automatically scan your domain for existing DNS records.
Step 2: Review DNS Records on Cloudflare
Once it scans your domain, you’ll see a list of DNS records:
- A Records
- CNAME Records
- MX Records
- TXT Records
- AAAA Records (sometimes)
You need to make sure everything matches your cPanel DNS, especially:
- The A-record for your domain: Points to your hosting server IP (you can find it inside cPanel).
- The “www” CNAME: Usually points to your root domain.
- Email records (MX, SPF, DKIM, DMARC): Make sure Cloudflare didn’t remove or break your email settings.
If something is missing, don’t worry, you can manually add it.
Step 3: Cloudflare Gives You Two Nameservers
After checking your DNS records, it will show you two nameservers like:
- ns.cloudflare.com
- ns.cloudflare.com
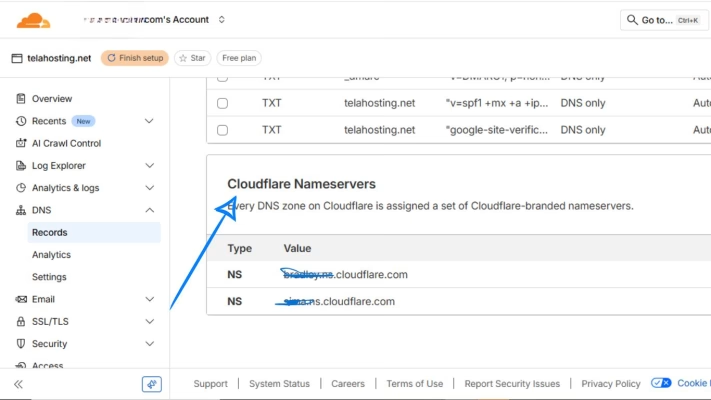
It will say: Replace your current nameservers with these. This is where your cPanel DNS setup begins.
Step 4: Log In to Your cPanel via telaHosting
- First, log in to your telaHosting Client Area using your registered email and password.
- From the dashboard, select your hosting account and click “Log in to cPanel” to access the dashboard.
- Once you’re inside, go to Domains then Zone Editor (if you need to confirm DNS records)
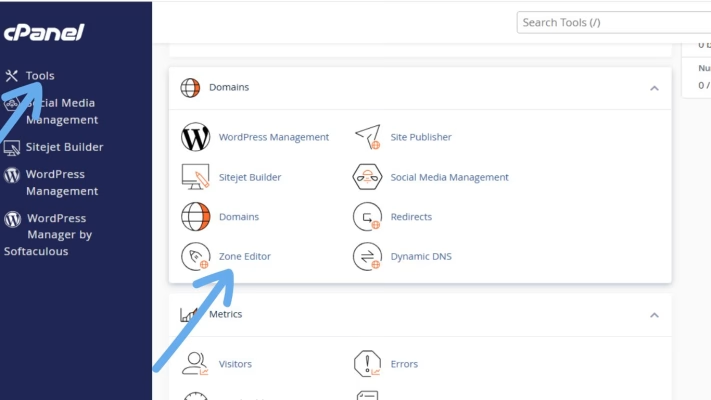
But the actual nameserver update is not inside Zone Editor. It’s inside your domain management area.
Step 5: Update Your Nameservers to Cloudflare
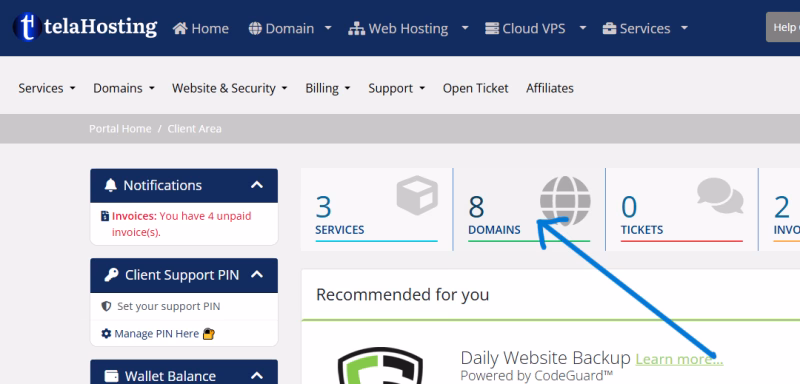
1. Log in to your telaHosting client area
2. Go to Domains
3. Click Manage Nameservers
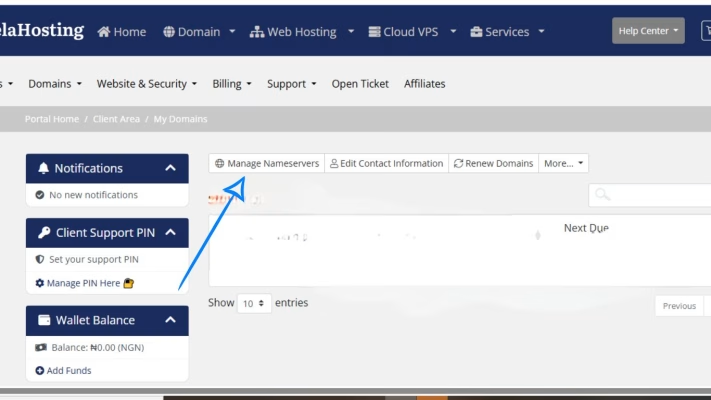
4. Select Use custom nameservers
5. Replace the existing ones with the two nameservers giving to you.
6. Save the changes
Step 6: Add Missing DNS Records in cPanel Before Switching
Sometimes Cloudflare doesn’t detect all your DNS records during the scan. Before switching nameservers, confirm everything is correct. Here’s what you should check:
1. A Record for your root domain (@): In cPanel → Zone Editor, you’ll find something like: @ A 123.45.67.89. This is your hosting IP. Copy this into Cloudflare if it’s missing.
2. A Record for “www”: It should be: www CNAME yourdomain.com
3. MX Records (Email Delivery): If you use telaHosting email or another provider, make sure MX exists: Example: priority 10 → mail.yourdomain.com And ensure an A-record exists for: mail.yourdomain.com → your hosting IP
4. TXT Records (SPF, DKIM, DMARC): You must copy these to Cloudflare to avoid email issues. Example SPF: v=spf1 a mx include:spf.telahosting.ng ~all
5. CNAME Records for Apps: If you use:
- Google Workspace
- Microsoft 365
- Zoho
- Mailchimp
- SendGrid
Make sure their DNS values are included. After confirming everything, proceed with the nameserver change.
Step 7: Wait for DNS Propagation
After updating nameservers, it takes 5 minutes – 24 hours. You can check propagation using:
Just search your domain and check NS records. Once it detects the change, your dashboard will show Active.
Step 8: Optimize Your Cloudflare Settings
Inside Cloudflare, turn on the following:
- SSL/TLS → Full (Strict): Strong security + smooth HTTPS.
- Speed → Auto-Minify: JavaScript, CSS, HTML
- Caching → Standard: Gives you faster performance.
- Firewall → Security Level: Medium (Blocks suspicious bots).
- Always Use HTTPS: Ensures your site loads securely.
Conclusion
Adding DNS records for Cloudflare in cPanel is a very powerful step for improving your website’s performance, security, and reliability. Once your nameservers point to it and your DNS records are correctly configured, your website becomes faster, safer, and more stable — all with zero coding.
Need help? Our friendly support team is always here for you! Reach out below.
Happy hosting! 🌟