Welcome to telaHosting! This guide will walk you through the simple steps to create your account so you can start your web hosting journey hassle-free. Let’s get started!
Step 1: Visit the telaHosting Website
Open your favorite web browser and type in www.telahosting.com, and if you are in Nigeria, you can use www.telahosting.ng. Press Enter and wait for the homepage to load.
Step 2: Click on the “Account” Button
At the top-right corner of the homepage, you’ll see an Account button. Click on it, and you will see a drop-down; click on Register to begin.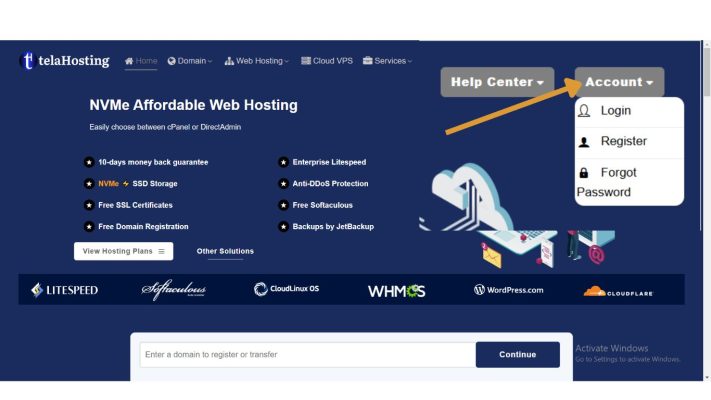
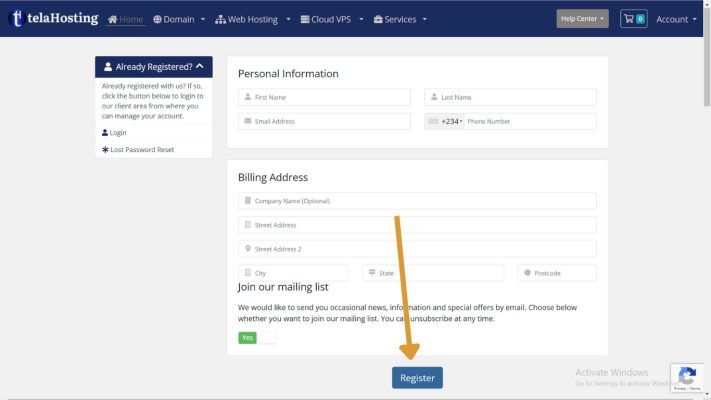
Step 3: Fill in Your Details
You’ll be redirected to the registration page. Here’s what you need to do:
- Enter your full name
- Provide your email address (make sure it’s valid!).
- Enter your phone number
- Provide your Billing address
- Create a strong password (use a mix of letters, numbers, and symbols).
After filling in all the fields, double-check your information, then click Register.
Step 4: Verify Your Email Address
You will receive a verification email to the address you provided. Here’s what to do:
- Open your email inbox.
- Look for an email from telaHosting (check your spam folder if you don’t see it).
- Click on the verification link in the email.
Once verified, you’ll be redirected to your telaHosting dashboard.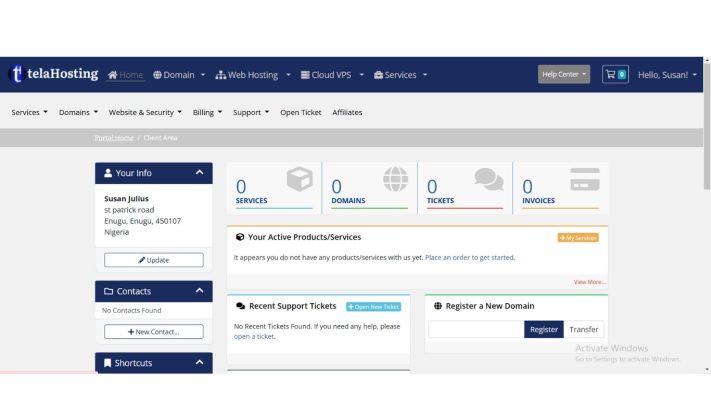
Step 5: Log In to Your New Account
Now that your account is verified:
- Go back to the telaHosting website.
- Click on Login at the top-right corner.
- Enter your username and password.
- Click on Login.
Congratulations! You’re now logged into your telaHosting account. 🎉
What’s Next?
With your account set up, you can now explore telaHosting’s features, purchase a hosting plan, or start building your website.
Need help? Our friendly support team is always here for you! Reach out below.
Happy hosting! 🌟