
In order to link your domain to your blog, through Cpanel you need to follow these steps:
1. Set up your domain in your Blogger account as described here in Step 2: Connect to your non-Google domain from Blogger.
2. Once you have added the domain, you will get two CNAME records that you need to configure along with the A records.
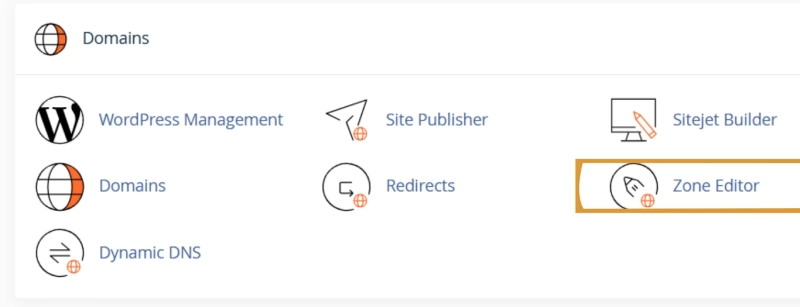
In order to add the needed records, log in to your cPanel > Domains section > the Zone Editor menu:
For cPanel Basic Theme:
3. To begin with, you need to point your domain to the following IPs:
216.239.32.21
216.239.34.21
216.239.36.21
216.239.38.21
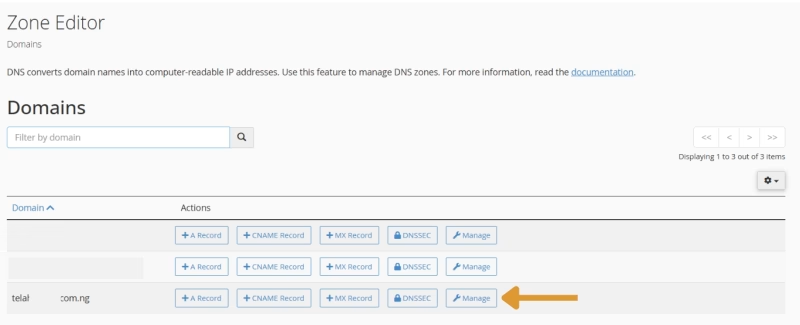
Click Manage next to the domain name you wish to set up:
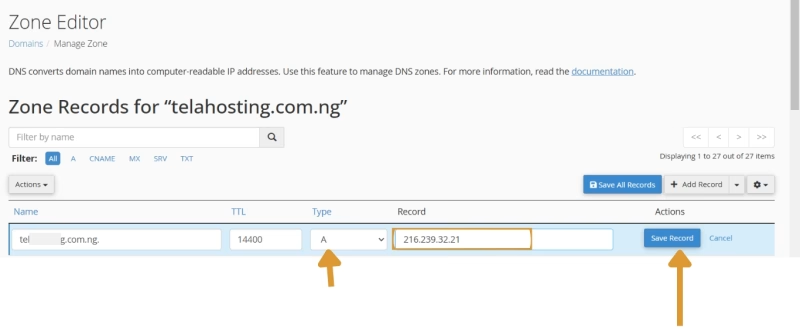
Edit the existing A record and put 216.239.32.21 instead of your cPanel IP address:
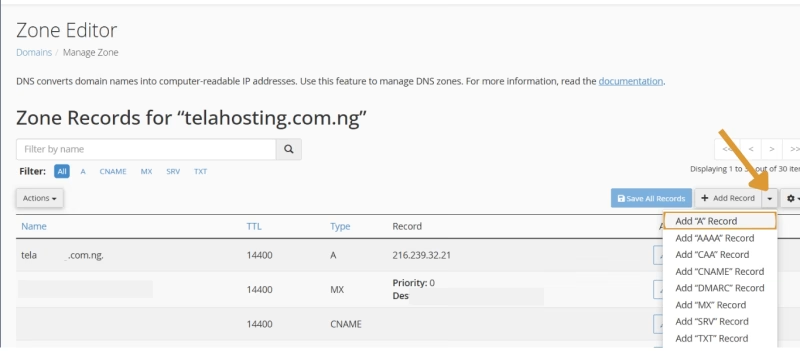
Then create three A records for your domain with 216.239.34.21, 216.239.36.21, and 216.239.38.21 values, as shown in the screenshots:

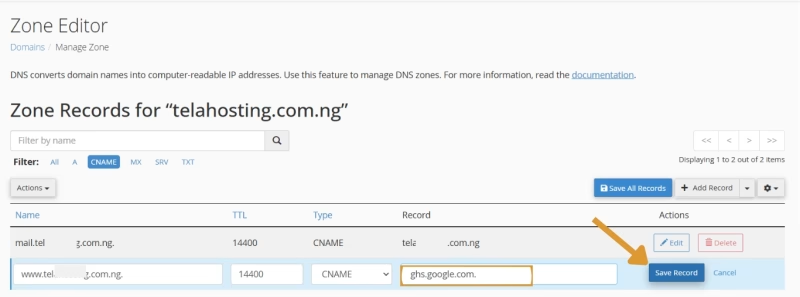
4. Now you can proceed with CNAME records setup. The first one is the same for each domain. Name field should be set for www and Record is ghs.google.com.
Most possibly, you already have a default CNAME record for www, so it is needed to Edit the existing value:
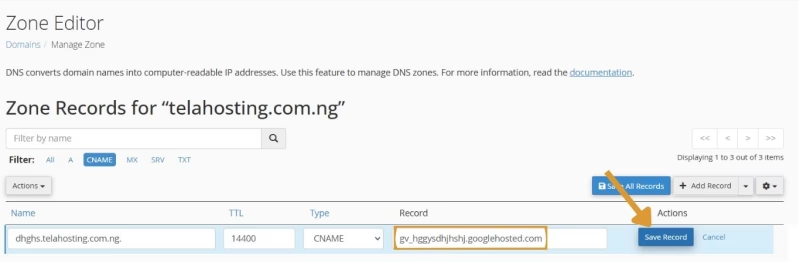
5. The second CNAME is particular to your blog and your Google Account, and is therefore different for each domain. This record should be created in the Add Record section:
6. Before you move onto the final step, wait for about half an hour for newly created host records to take effect.
7. Once the settings are activated, repeat Step 1: Set up your domain in Blogger as it is shown in this guide.
With this, you can successfully link your domain to Blogger through cPanel. Happy Hosting🌟
Need help? Our friendly support team is always here for you! Reach out below.
Happy hosting! 🌟